FlameFractalTutorial03
Contents
Objective of this tutorial
In this tutorial we want to show how to use the numerous variations to create more complex fractals.
To proceed, please load the example flame from the previous tutorial into your editor. In order to do this:
- Enter the Appendix of the previous tutorial, look for the text-box with some cryptic text starting with "<flame...". Select this text with your mouse, i.e. starting at "<flame..." until (and including) "</flame>" at the botton. Copy this text into the clipboard (on most platforms pressing <Ctrl+C>).
- Enter the main-flame-editor and press the From Clipboard-button. If all went right, you should see a red-brown fractal.
In the beginnig everything is linear
When you add a new transform, you always will see the word "linear3D" in the Transformations-table. The table shows the "formulas" added to a transform. Per default the most simple formula is added to a transform, a line. But because in JWildfire a flame is usually 3D, it is a line in 3D-space, and is called "linear3D".
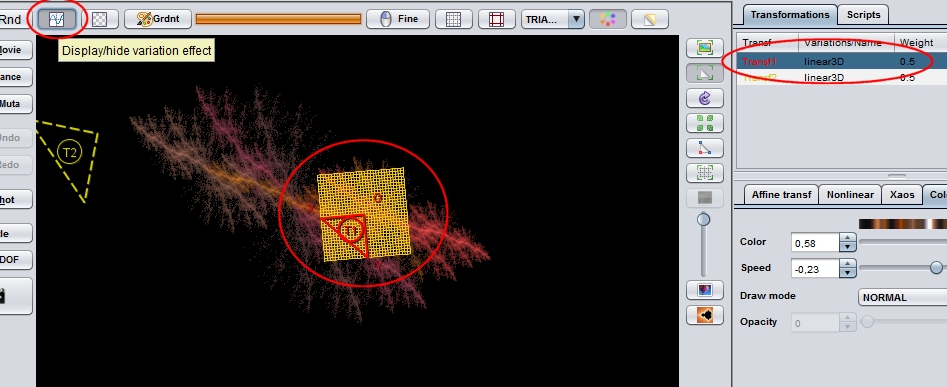
To make the influence of the formulas (together with the transforms, see the first tutorial) visible, just press the Display/hide variation effect-button on the top editor-area.
When you have chosen the example-flame and pressed this button, you will see a slightly rotated grid at a certain position.
The rotation comes from the rotation of the transform, the size comes from the size of the transform, and the position from the position of the transform.

But, the shape comes from the formulas, also called variations, sometimes called plugins inside this transform. The figure displayed is always the result of applying the selecting transform (together with the formulas) to a square grid.
So, moving, rotating, sizing and applying a linear transform (i.e. another scale) to a square creates another square, which may have an altered position, size and orientation.
There a few hundreds of formulas to play with
In the first tutorial we saw how many different shapes we could create by just using two transforms, each with the "linear3D"-formula assigned.
But there were many creative human minds active to create hundreds of different of formulas, and we can use more than one of those formulas inside each transforms. And each formula may have certain params. Impossible, to try all out all the possiblities in a life time, but a lot of fun, to play around :-)
Change a formula from linear to something different
In order to change formulas and their parameters you have to enter the Nonlinear-tab under the TransformationS-tab. Currently, you may have up two 12 different formulas at each transform. So, currently, you see 12 places to change formula and the parameters of this formula.
In this tutorial we will not use much of it, just change one formula and see how big this change is.
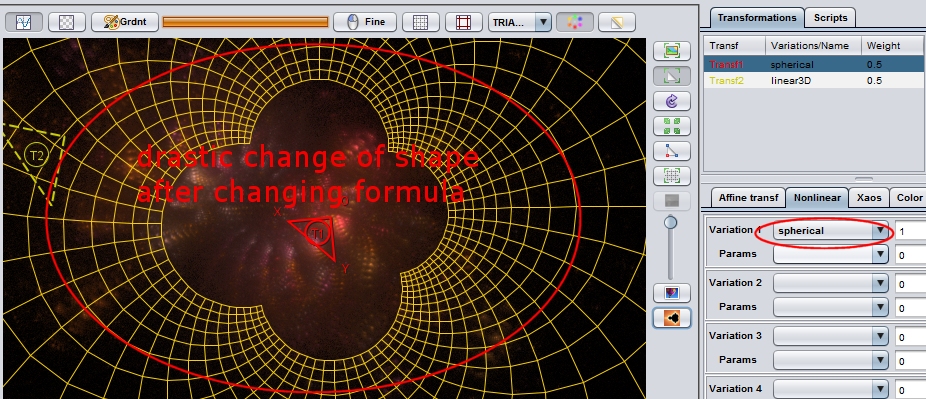
Just enter the Nonlinear-tab and enter the listbox labelled Variation 1. Press the s-letter to select some formula starting with "s", and then click with the mouse at this listbox, you should now see the formula spherical and be able to seldct it by just clicking at it.
After that, your view should change in a drastic way.
The square shape of the formula-view is replaced by some strange grid, and the fractal itself has changed significantly:

Play around with different formulas
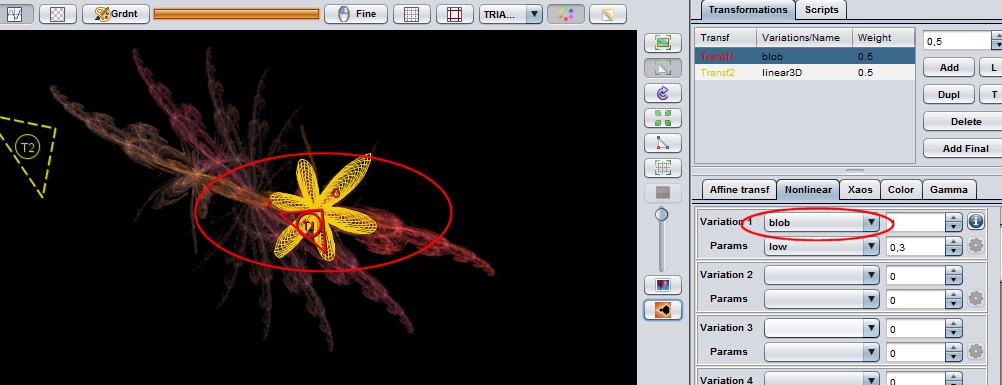
You may easily play around with lots (hundreds) of different formulas by just not leaving the listbox. Just keep inside the listbox with the cursor, and press the cursor keys to navigate through. At each change of the list-box, you will see a an update both of the fractal and the grid.

Conclusion
We learned a way to exchange the default linear formula by any of the numerous included different ones and how to display the influence of formulas. But, we only scratched the topic, there are multiple formulas per transform, and multiple parameters per formulas, lots of stuff for more tutorials...