Difference between revisions of "Manual RenderQualityFlameFractals"
(→Example 1: Spatial oversampling 1 (without any antialiasing)) |
|||
| Line 30: | Line 30: | ||
#Spatial oversample 2: memory-usage 4 times as much, double render time | #Spatial oversample 2: memory-usage 4 times as much, double render time | ||
#Spatial oversample 3: memory-usage 9 times as much, render time three times as long | #Spatial oversample 3: memory-usage 9 times as much, render time three times as long | ||
| + | |||
| + | ==Spatial filtering== | ||
| + | Spatial oversampling opens the door to some other nice and powerful feature: the spatial filtering. In the previous paragraph we saw that in spatial oversampling several samples are calculated to generate one final point of the image. But we did not see how this is done. | ||
| + | |||
| + | The simplest approach is to calculate the average of samples generated for each pixel, and use this average as final value. | ||
| + | E.g., when using spatial oversampling of 2, we calculate 4 raw samples per pixel, and use the average of this 4 samples to generate one pixel. | ||
Revision as of 00:20, 21 July 2015
Contents
Introduction
Even if the construction of flame-fractals can be very easy, it may be a challenging task to get a visually appealing rendered image. Often, there is too much noise in some parts of the fractal, while other parts lack detail or have too many jagged edges etc.
JWildfire has numerous options to control the render-quality, but there are really many options, and not all apply to all types of fractals in the same manner. Hopefully, this article will help you to understand what all those options do and how to use them to increase the quality of your fractal.
All the options, we talk about, are located at the "Anti-Aliasing / Filter"-tab.

Spatial oversampling
Spatial oversampling is probably the most powerful tool to increase the level of detail of your fractals. It works in a similar way as many artists also create their digital images: they create their image at higher resolution and scale it finally down using some clever algorithm/software. The result usually looks better than it would have, when created at the original size.
The spatial-oversampling-setting in JWildfire is an integer setting. A value of 1 means to render internally at original size, a value of 2 to render at double size, etc.
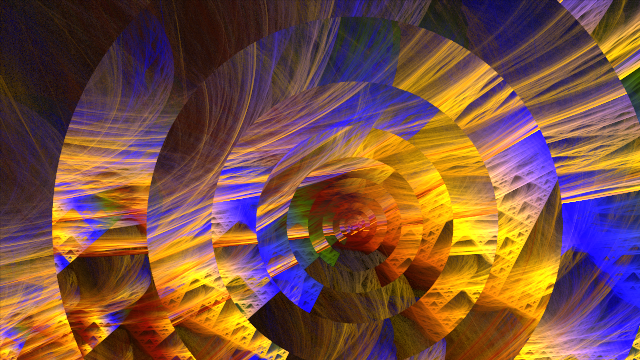
Example 1: Spatial oversampling 1 (raw, without any antialiasing)
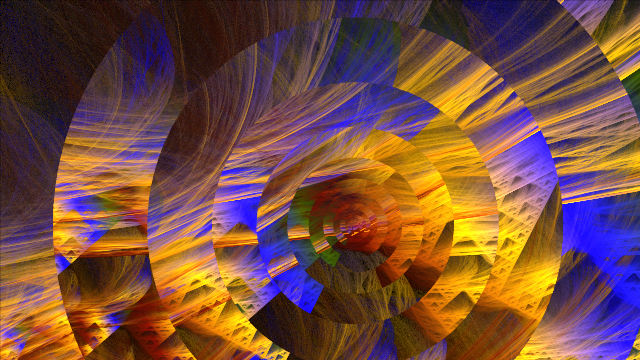
Example 2: Spatial oversampling 2 (raw, without any antialiasing)

When you compare the both images you will see that the 2nd image looks much "brighter" and has more details (You may save them locally for easier comparison, as the differences are not that huge)
In comparison the "human" method of spatial oversampling the oversampling in JWildfire does oversample the raw data (from the fractal algorithm), not the final image
Memory usage/render times
Because spatial oversampling increases buffer size in two directions (width and height), the memory usage increases by factor oversampling * oversampling.
But, the calculation is adjusted in a way, that render time only increases by factor oversampling.
Examples
- Spatial oversample 2: memory-usage 4 times as much, double render time
- Spatial oversample 3: memory-usage 9 times as much, render time three times as long
Spatial filtering
Spatial oversampling opens the door to some other nice and powerful feature: the spatial filtering. In the previous paragraph we saw that in spatial oversampling several samples are calculated to generate one final point of the image. But we did not see how this is done.
The simplest approach is to calculate the average of samples generated for each pixel, and use this average as final value. E.g., when using spatial oversampling of 2, we calculate 4 raw samples per pixel, and use the average of this 4 samples to generate one pixel.
