FlameFractalTutorial07
Contents
PHOENIX JULIA / PERSPECTIVE TUTORIAL
This is an easy tutorial that gives you a base flame from which you can learn about these two interesting variations and
– even more important – what is possible starting with a very simple combination. Of course, they have to be not just
any two variations, but the possibilities are many. MANY, like all things fractal.
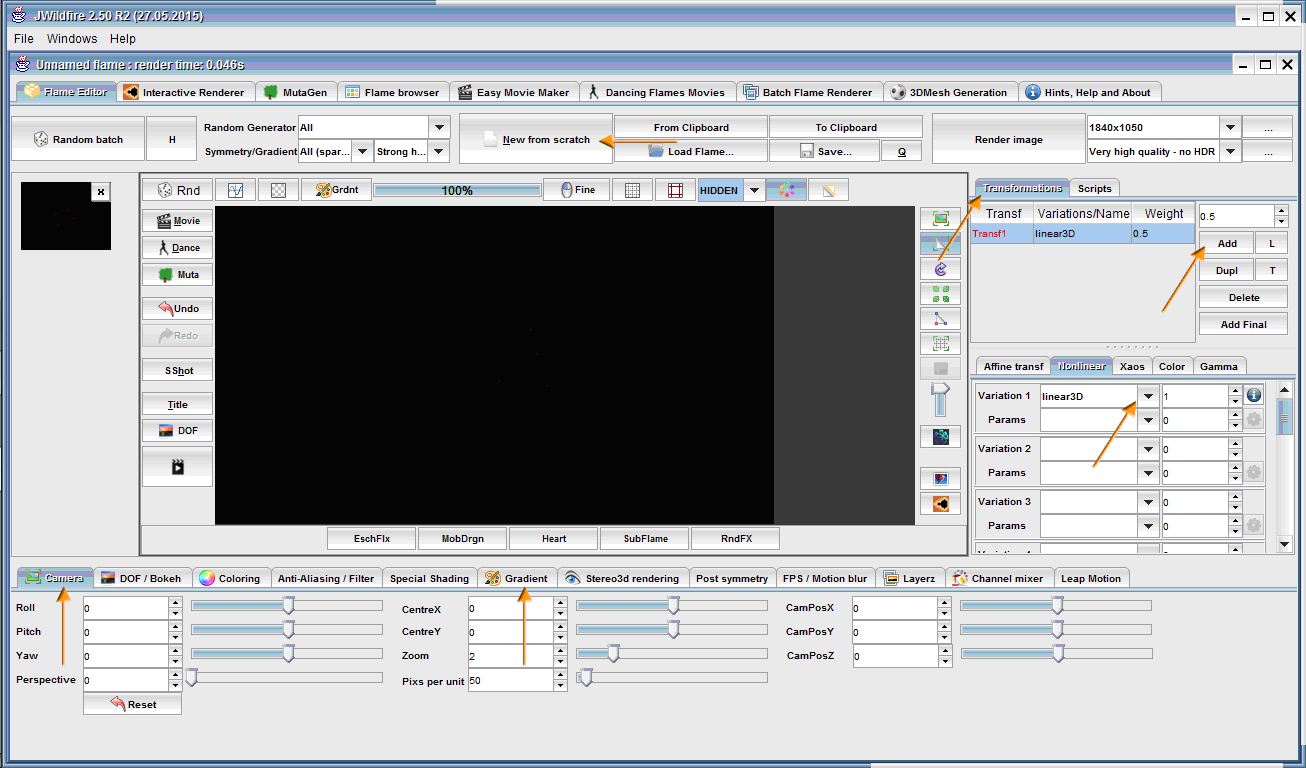
Open JWildfire and click on New from Scratch.
Go to the Gradient tab and choose a lighter gradient than the default one. This is only because I know from trying it that
the default will produce a dark fractal that is hard to see.
Now go to the Camera tab and change Zoom from 1 to 2.
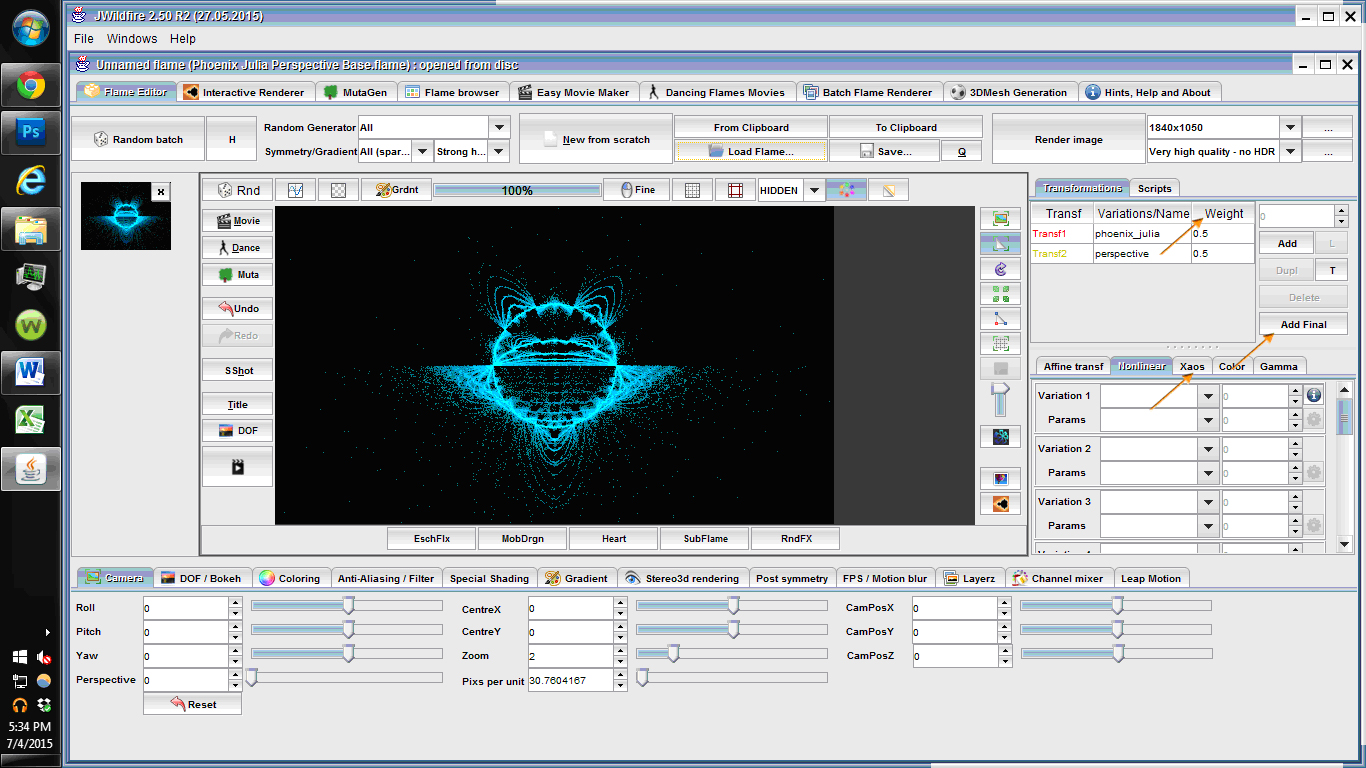
Next go to the Transformations tab and click on Add. This gives you your first transform. Change it from Linear3D to
Phoenix_Julia by clicking on the down arrow to the right of Linear3D on the Nonlinear tab.
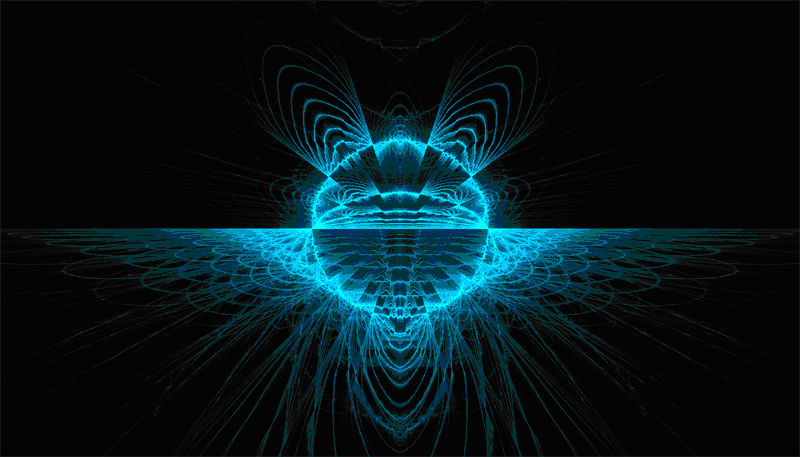
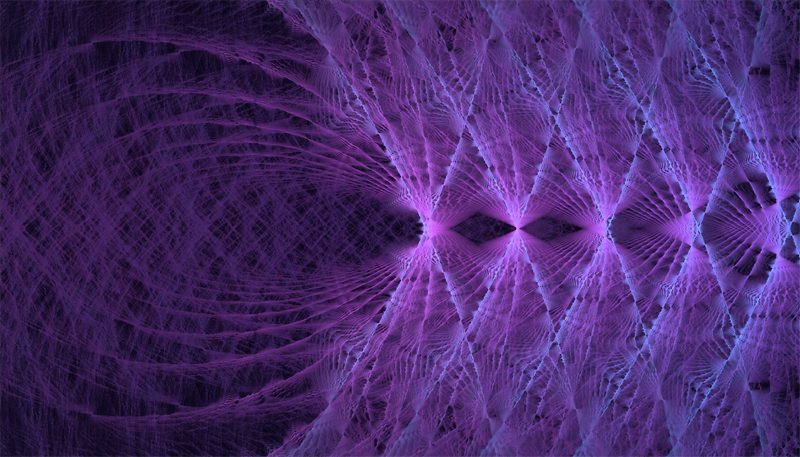
Click Add again. Change this Linear3D to Perspective. The image below is what you should see in your viewport now.
Now it’s playtime. Things to try:
- Change the variables of the Phoenix_Julia and the Perspective variations.
You’ll find them in the drop down menu next to the word Params
below each variation in the Non-Linear tab.
Try giving Phoenix_Julia a power of three, for example.
Be sure to try using negative numbers as well as positive numbers.
- Play with gradients. Different gradients and combinations within a gradient
will highlight different elements of the flame.
Warning: It can be hard to decide!
- Add different final transforms: Click on Add Final in the Transformations tab.
Change the final transform from Linear3D the same way you changed the
plain transforms to Phoenix_Julia and Perspective.
You can also try using more than one final.
Final Transforms do their magic on the overall result of all the standard transforms!
- Add in other variations on their own transforms.
Or try adding additional variations to existing transforms.
Sometimes they will work – sometimes not.
With fractal art, when you try something you can get nothing, or mud... or magic!
- Experiment with each transform’s Weight
(I set the Perspective transform to .75 rather than the default of .5 for examples below).
You can even go into the Xaos tab, although I didn’t do that for this tutorial.
Change the Xaos weight from 1 to 0, one transform at time – you’ll see some interesting things happen.
It's important to realize that you can use values between 0 and 1 as well and values well above 1 too.
Because this is such a simple flame, it’s easy to see what Xaos changes can do.
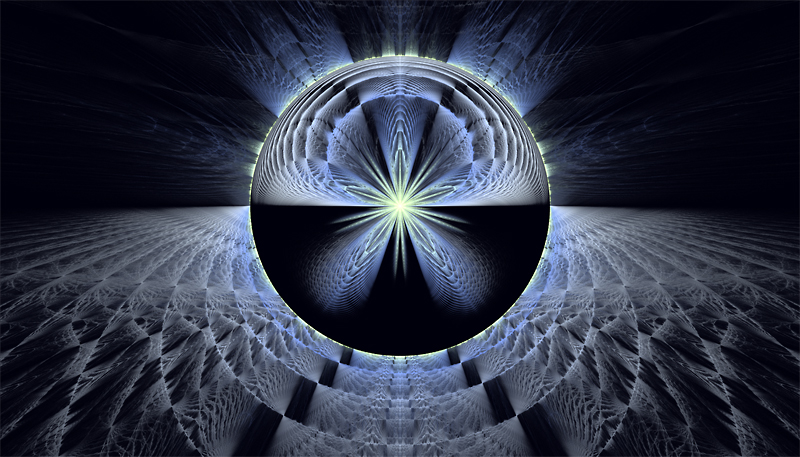
Here are some examples.
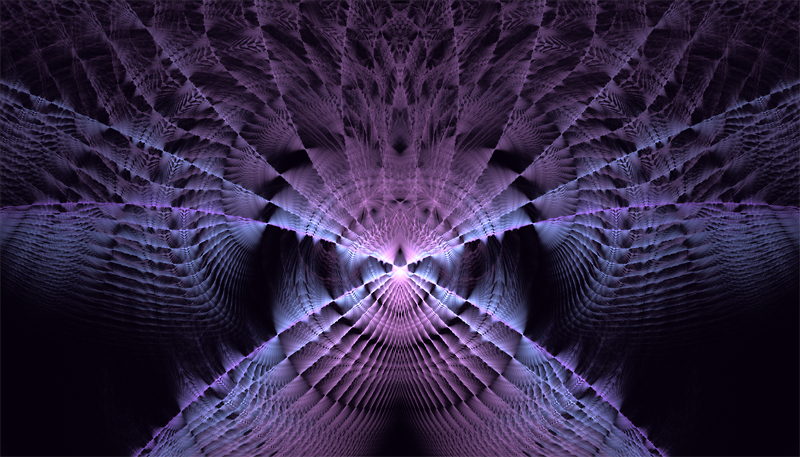
This has a Mobius final using the default Mobius variables, but try making changes to them.
On this one, changing the Perspective angle and distance (in the drop down menu) is also interesting.
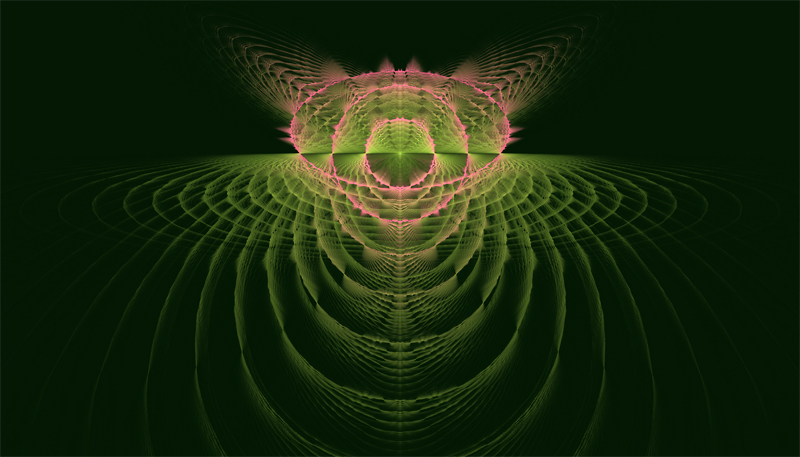
This image has two final transforms, Spherical 3D and Perspective.
That means there is a regular transform that is Perspective and also a Perspective final transform.
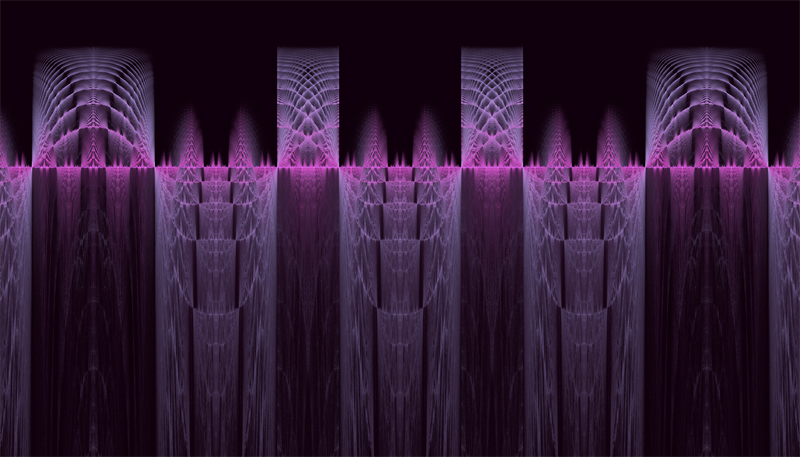
Five Layerz of the same flame, which has a Polar final transform.
Layerz is a wonderful feature of JWildfire, not covered in this tutorial.
Final Thoughts
Don't forget to TWEAK PROPERLY before posting your own fractals...
If you decide to use a flame created from any tutorials you find online, as a base.
Also remember to give credit (preferably with a link so others may benefit)
to the tutorial that helped you create something nice...
It's good Fractalizing manners and it keeps everyone happy!
Enjoy!
